Engaging Back to School Art Ideas for Teachers to Build Student Relationships
Back to School Activities
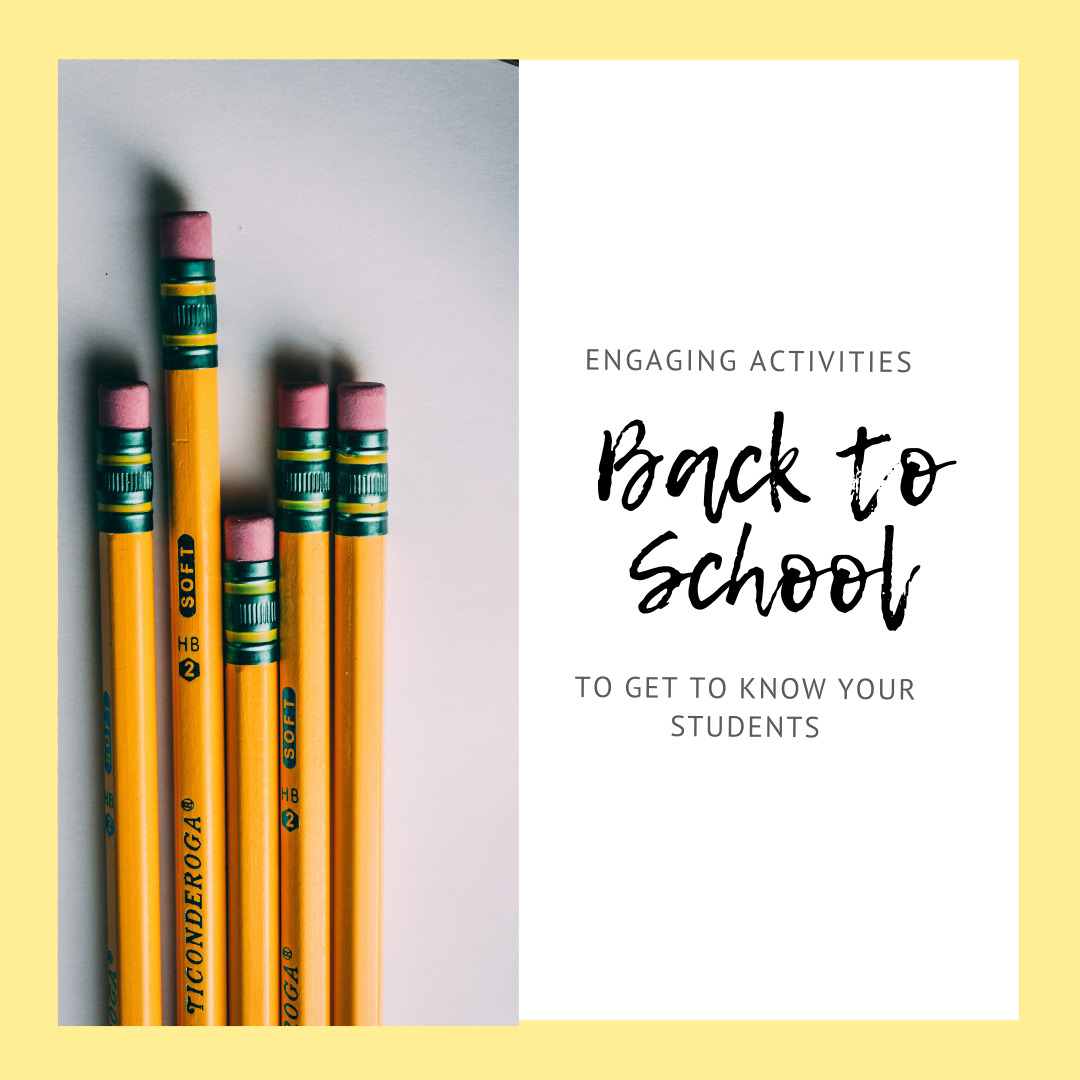
Photo by David Pennington on Unsplash
The first few weeks of school can be a whirlwind of activity. You’re busy setting up procedures, going over class rules and expectations, and getting to know your students. One tried and true activity that we have had a lot of success with over the past 13 years teaching 7th grade is what we call the Name Plate. It has had a few variations over the the years, but the most important components remain a constant. Below are step by step directions on how you can make one amazing activity that will brighten up your classroom with color, and make your class a place that every student feels welcome and connected.
Name Plate Activity
This is an activity that we still do today. The kids love it, and it is a great way to learn about all of your student’s favorite things, and match a face with a name! I’m not going to lie, this activity does take a little bit more prep work, but once it’s done you have it for years to come. Also, the results last the whole year in our class, so it’s worth the extra hours spent on the computer in the long run. If you know that you just don’t have time for any more prep- skip ahead to our other post about the other Name Plate Activity we created!

Katy’s Name Plate
What you will need:
A Photo booth app
An iPad(s) or Cell phone(s)
A web storage platform
10-12 fonts preloaded onto your computer
Printer paper
Colored pencils and thin black sharpies
Colored construction paper
Glue dots
Optional- Photo Booth Props
Let’s Get Started!
First things first. You will need to make sure that you have some form of a web storage to upload all of your student photos onto. We like Showbie. It is a free app for IOS devices, they also have a website. Check it out at www.showbie.com
An iPad or cell phone with a Photo Booth app. We are a paperless classroom and have an iPad cart. Each iPad is preloaded with a Photo Booth app that the students use. You could also just use your cell phone, download the free app, take pictures, and upload the images to Showbie, Dropbox, or your computer.
We like this free version: Photo Booth
Next, you need to compile a list of abut 10-12 fonts that you think would look cool on your classroom wall and that students would gravitate towards. We bought a bundle of fonts from Creative Market. You can also find a bunch of amazing fonts for free on the website Dafont. We know many teachers love the KG fonts. They are free for personal use, and you can find them on the Dafont website. You will need to download the fonts onto your computer.
After we have downloaded the fonts we like, we create a Google Form that our students fill out. It has a list of the fonts with an example on the page. They must type their name as they would like it to appear on the Name Plate. We share the link with the students using Showbie. You could share with your class using Google Classroom, or even just have them write the name of the font they like on paper with their name on it, and turn it in to you.
Here is an example of my Google Form below:


Now it is time for some fun! During the first week of school, or any time before Back to School Night, we have the students take their photo booth photos. Two years ago, we bought some props for the kids to use while they are taking their photos. We just found some cheap ones on Amazon. They are an added bonus, but totally not needed if you are on a budget.
Once the students have taken their photos, (Trust us when we tell you, this takes MUCH longer than you had originally allotted for- like 45 minutes of class time-so plan accordingly), they must download them onto the iPad or your phone’s camera roll. They will then upload the photo to Showbie, or your Dropbox, or you will upload them to your computer.
Your students’ job is done for now. Good job students! Now comes the fun work that you have ahead.
We create a template of our Name Plate by typing the student’s first name on to a Pages document and then we center it. (We are die hard Mac users, but if you are using a PC, any word processing program should do). We check the spelling with the spelling of our student’s name on the Google Form, and then we switch the name to the font that they chose on the same form. It might look something like this:

We then add the image to the document and center it. To do this, we must first grab the image from Showbie, download it to our computer desktop and then drag the photo on to the Pages document. You don’t want the photo to be so big that the students won’t have room to draw on the page (see my example above). Next, we insert another page into our file and do the same dam thing…95+ more times. Pro tip- if you’re doing this at home, now is the time to get yourself one fancy AF cocktail and enjoy the monotony. I’m partial to a nice glass of red wine…so if you’re working on your Name Plates any time between August 14-19, at around nine at night, cheers friend, I feel your pain.
Last, we save that giant document on our desktop or in Dropbox…because we use it again at the end of the year. (Check back for our post about Open House Activities later in the school year!) AND PRINT! If you only have a black and white printer, no worries- they look great printed out in black and white.
Students are then given back their awesome looking Name Plates and they are required to draw ten symbols that represent themselves. Once the students have completed the symbols, we have them outline them in a thin sharpie and then color them in using colored pencils. Some students go all out decorating the whole page. They can be so creative!
We usually give the students one whole period (45 minutes) to begin working on their Name Plates. They then get an additional 20 minutes, for three or more days, to work on their Name Plates. We do not send them home. There are always a handful of students who do not finish them in class for whatever reason, so we send the Name Plate home with them then. They must return it the following day for credit. We do give students credit for their work. Something that takes so much time and effort deserves to be graded.
Once the students have completed their Name Plate, they choose a piece of construction paper to back their paper. We like the Cool and Warm tone pre-cut construction paper by Tru-Ray. We adhere the papers together using these fancy little glue dots. They are a teacher’s BFF!
We hang up every student’s Name Plate on our classroom walls. There they stay, until Open House, when we replace them with another amazing activity. All year, students comment on their photos. When our students see their faces reflected back at them in their classroom, it shows them that they are welcome, their opinions are valued, and that their classroom is a place where they belong.
If you try out this activity, let us know how it turns out! Comment below, or share a photo of your classroom walls on our Instagram @teachdistillery or our Twitter @TeachDistillery accounts!
Bottoms Up!